Creating a Custom Tesla Light Show
By James Sevedge
- 5 minutes read - 929 wordsIn late December Tesla pushed out a new major update to my Model Y dubbed “version 11.0” which included a revamped UI and a bunch of new features. Probably the coolest feature released was the Light Show which allows creators to use a sequence show tool called xLights to turn on/off or ramp various lights, open/close the windows, open/close the trunk, etc. The Tesla also included a default light show which at the time was holiday themed and got a good reaction from friends/family, pretty sweet to get OTA updates on a car right? Anyways I finally got around to building a custom light show and figured I would take notes as I went and write about it in case others find it interesting and would like to do the same.
Documentation
The Tesla engineering team put together a great readme and linting tool which they published under the teslamotors Github organization here. It covered most of the details I needed as long as I was willing to jump around a bit as I progressed.
Installed software
Once I read through the documentation I went ahead and installed the xLights application using the Apple app store on my Mac. Note that xLights supports all the major OS platforms, see the download page.
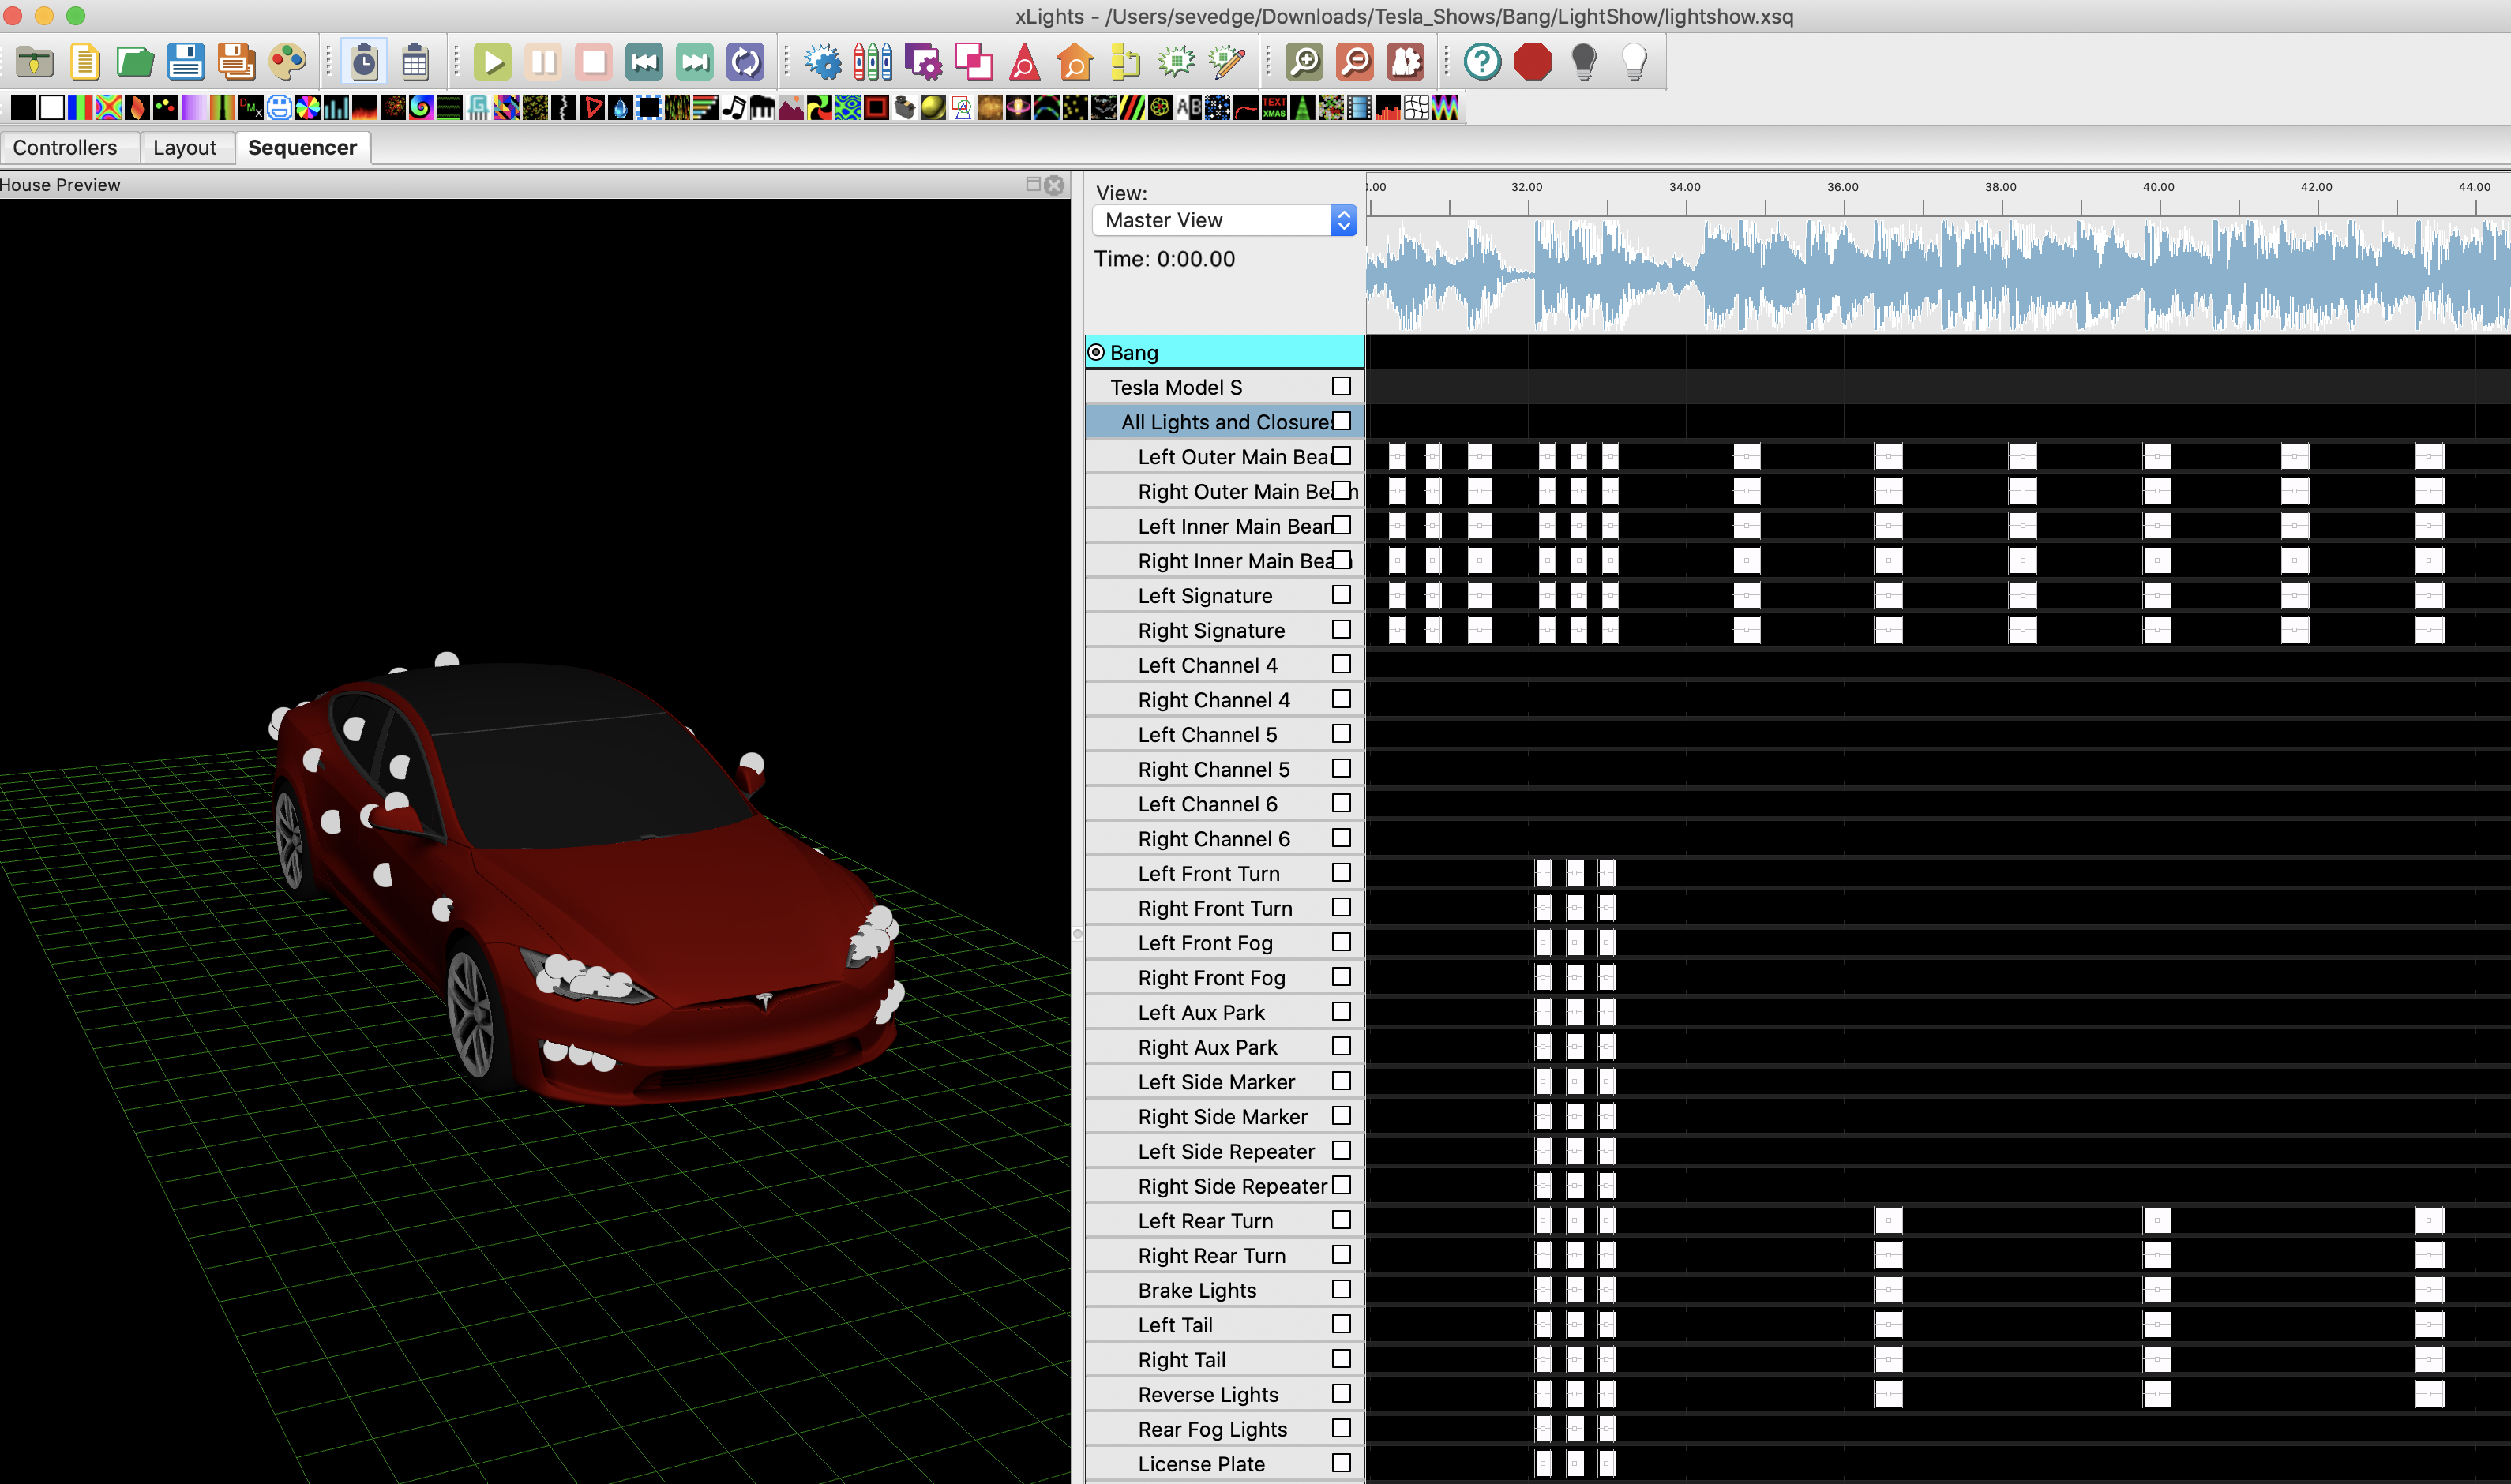
I then downloaded the sequenece model the Tesla engineering team created and provided a link to in this section of the readme and imported it into xLights. This pulls in the 3D car model with the 46 channels (lights, windows, doors, etc) that are configurable and provides a nice visual layout when testing out the light show in xLights.
Test out the example sequence
The Tesla engineering team provided an example light show (not the same one loaded in the car) which you can use to get a feel for how the sequence effects are laid out and validate your USB can be plugged into the car and correctly play a custom light show. I found this step useful to ensure I didn’t take the time to create a light show from scratch and end up running into an issue with USB disk format, etc.
I downloaded the example, put it into Downloads->Tesla_Light_Show->Smooth_Jazz->LightShow, copied that folder over to the USB, plugged it into the car and tested it out. Thankfully it worked the first time! Note that I had to wait for a progress bar at the bottom of the modal to complete before pressing play or it would play the last loaded light show.
Creating my own light show
First I needed the audio file for the song I wanted to play. It is surprisingly hard nowadays with streaming services like Spotify, Apple Music, etc. to just get a plain old mp3 anymore… but Amazon Music to the rescue! In a couple clicks I found the song, purchased the single and downloaded the mp3 file into a new folder under Downloads->Tesla_Light_Show->Bang->LightShow.
Now this is where the fun part actually begins, I needed to create the .fseq file using xLights which contains all the effects matched up to the audio. To do this I opened xLights, created a new sequence and imported the mp3 file. I put on some headphones and proceeded to try and grok the xLights interface and add effects 10-15 seconds at a time. Once I had a good chunk added I would play it back and modify the effects until they lined up with the audio (or close enough!). Once I got through the first chorus, verse and bridge I was able to start chunking the sequences with copy/paste. I would then overlay some additional effects to build the light show as it progressed through the song.
According to the Tesla light show readme there is a max of 651 effects allowed and so they wrote a python validator script to help sequence authors figure out if they were within the parameters. Once I completed the light show and saved the .fseq file to the LightShow folder I ran that tool. Apparently I had a lot more effects I could still add, maybe I will revist this sequence again another time.
   $ python validator.py ~/Downloads/Tesla_Shows/Bang/LightShow/lightshow.fseq
   Found 3417 frames, step time of 50 ms for a total duration of 0:02:50.850000.
   Used 45.23% of the available memory
Here is what the folder structure that was copied over to the USB drive looked like.
├── LightShow
│   ├── lightshow.fseq
│   ├── lightshow.mp3
│   ├── lightshow.xsq
And this is a preview of how the light show turned out.
If you have a Tesla and want to try this out you can download it from the very cool teslalightshare.io site.
Recap
I spent roughly 4 hours getting from no idea how to create a light show for my car to understanding and creating one from scratch so kudos to the Tesla engineering team for good documentation and picking a tool (xLights) that has a decent interface for creating a sequence. I had a blast creating this light show and intend to create more in the future that makes full use of the advanced effects including tailgate open/close and light ramping.
One final note is it did occur to me that it would be nice to have a single USB with multiple custom light shows and the display would provide a picker with the list of shows available. I filed a Github RFE which was promptly closed as a dupe of #8. When I took a look at that issue it appears the team appreciated the suggestions but did not commit to implementing it. So a typical Tesla response.